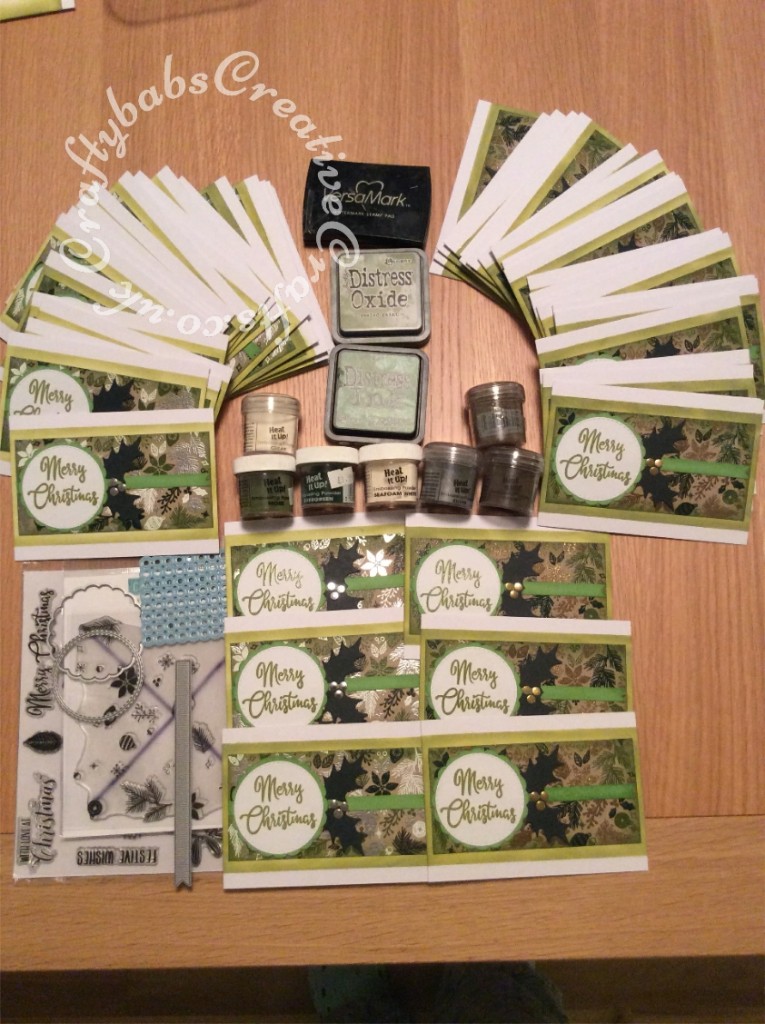
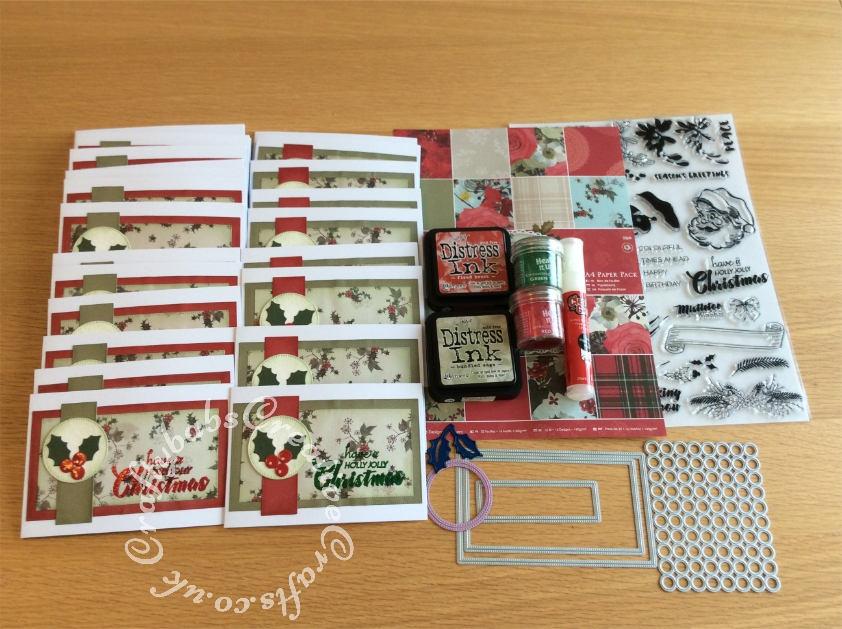
Well, I managed to make all of my Christmas cards again this time, over 100 in total. The secret to saving a huge headache is coming up with a simple design that is quick and easy to mass produce. If you break the process down into steps and set up a production line it saves time too. I came up with 2 designs that were similar but different. Here is the first design with step by step pictures of the processes invloved. The second design can be seen at the bottom of this post. You’ll notice the second one was much simpler as I ran out of time and made some mistakes in my efforts to get things done in time. These are worth sharing to save you doing the same.
Design One
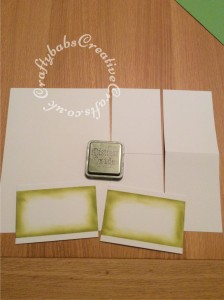
The main feature of this design is the stamped background using the Concord & 9th Deck the Halls turnabout stamp. I started by cutting sheets of A4 card in half lengthways to make two A6 landscape card blanks from each sheet. I then used post it notes to mask the card blanks and blended distress oxide ink.
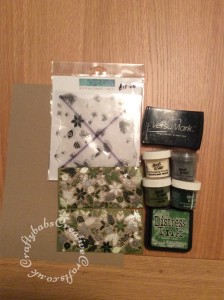
Next I cut the Kraft card stock for my background to size to make the stamping process easier. I stamped 26 squares, doing each one and then heat embossing with coloured embossing powder before rotatating and then changing colour, half I accented with silver and half gold. Once all of the squares had been stamped and heat embossed, I cut them in half and ink blended the edges.
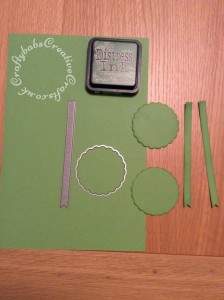
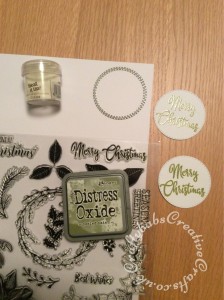
I then die cut scalloped circles from co-ordinating green card stock and also die cut ribbons from the same card. I die cut stitched circles from white card and stamped these with distress oxide ink and heat embossed with clear powder.
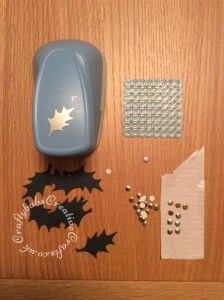
Using the Marianne Confetti die I die cut small circles form gold and silver Mirror card for the Holly berries and punch holly leaves from dark green card.
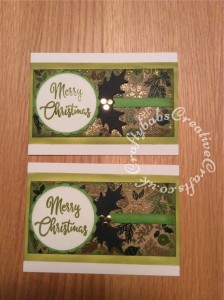
I then assembled the cards using PVA glue and used small foam squares for the holly berries to add dimension. And here they are. I made 52 in total.
Design 2
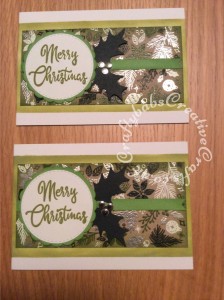
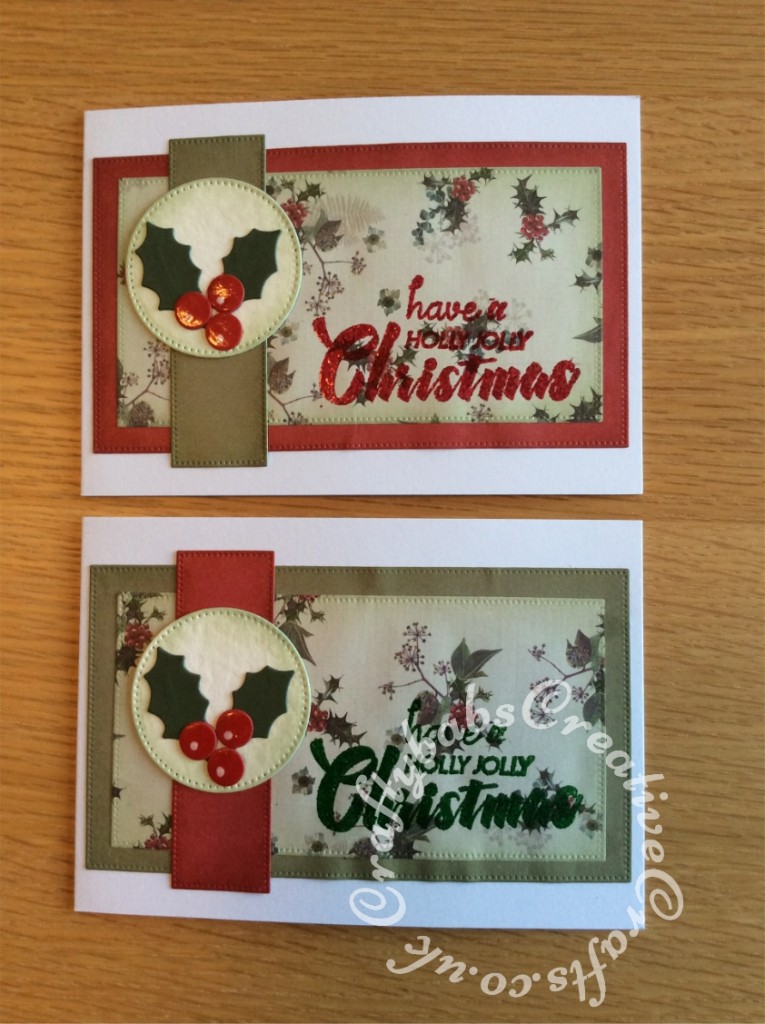
I was rapidly running out of time so opted for simple matting and layering using patterned papers with a similar motif on the front. My big mistake with this set of cards was to glue the mats and layers together first. I should have stamped and heat embossed the sentiment first and then attached the mats and layers one at a time to the card base rather than what I actually did. I glued the mats and layers first, heat embossed the sentiment and then glued them to the card base which I am certain is the reason there is so much warping in the papers as the heat affected the glue. Ah well I’ll know better next time. I die cut circles from ivory card stock and ink blended them. The holly and berries were die cut from coloured card. I added white gel pen highlights and glossy accents to the berries. I figured that although they were not perfect, they were still hand made and a lots more effort than buying shop bought mass produced ones.
