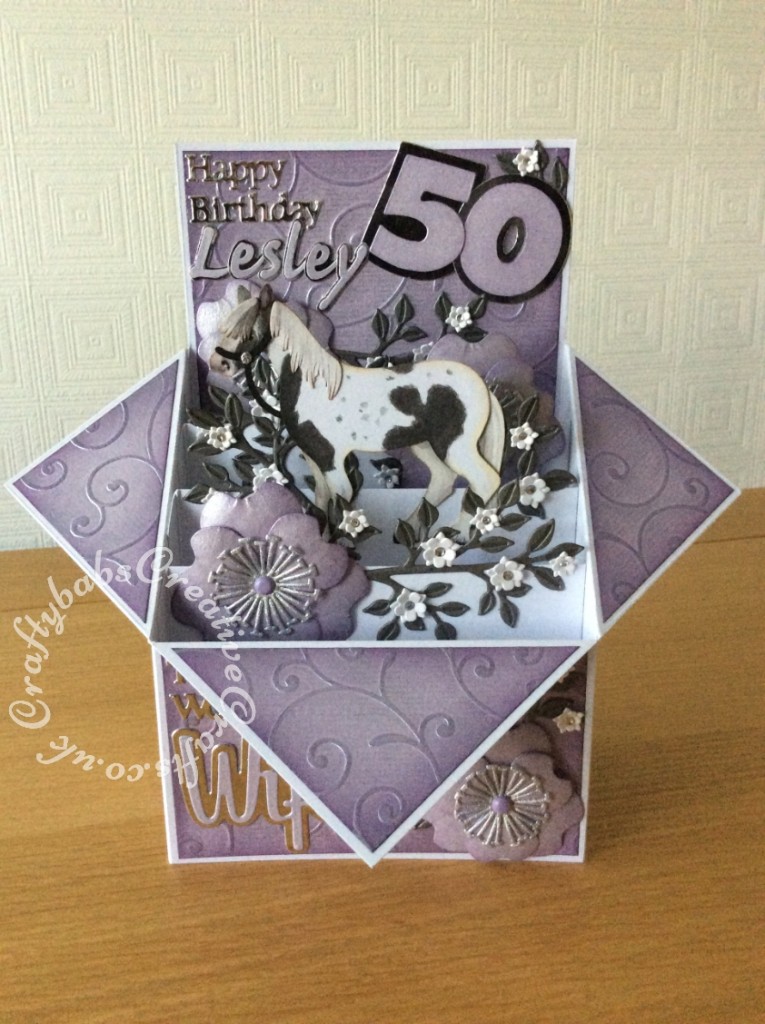
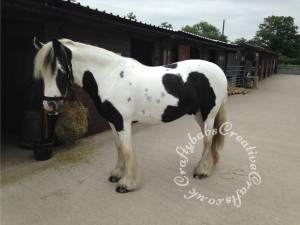
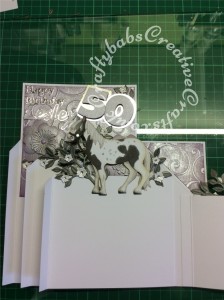
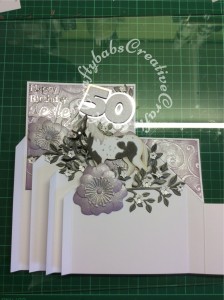
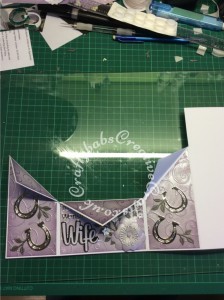
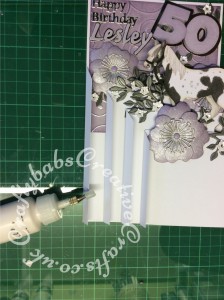
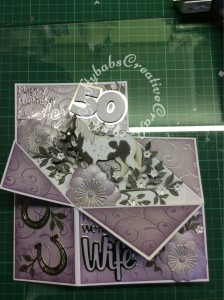
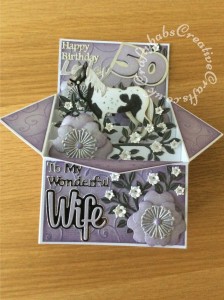
I’ve made quite a few Pop up box cards. Subscribers will have seen the tutorial for making a pop up box card. I thought I’d share some step by step pictures of how my most recent one was put together. The recipient owned a horse, and her husband wanted it featured on the card.
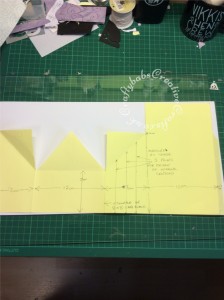
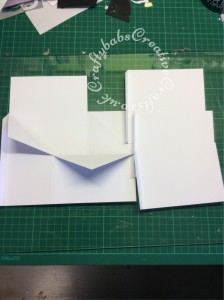
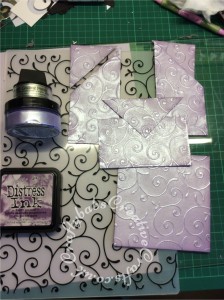
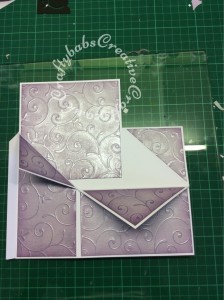
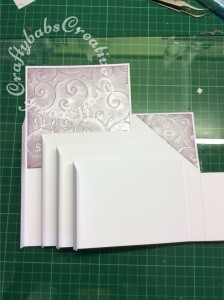
The card base from an 8″ square card blank. Card base trimmed and internal panels cut to fit.
Embossing, colour and gilding polish applied to card for matting and layering, then cut to size and glued onto card base.
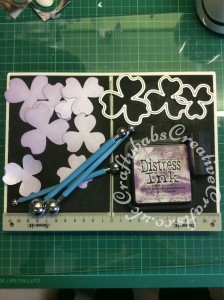
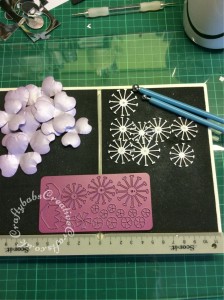
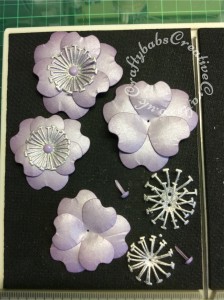
Flower petals die cut then inked and shaped, flower centres die cut and shaped
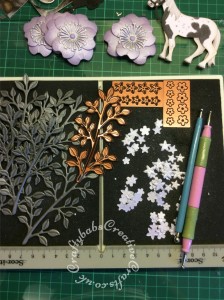
Flowers assembled with matching brads. Small flowers die cut and embossed
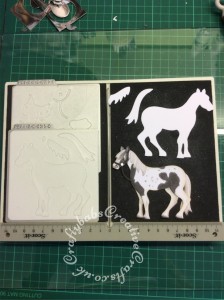
Die cut horse colour to match photograph of horse and assemble.
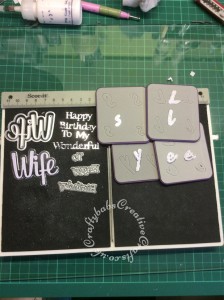
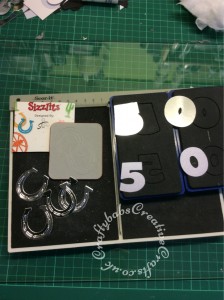
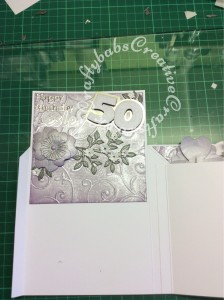
Die cut branches, sentiments and Numbers and assemble. Glue internal panels in place on right side only.
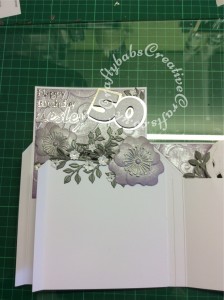
glue embellishments to internal panels starting with the back of the card.
Glue embellishments to outside panels of the card. Apply glue to all internal flaps and base flap, fold card over and press in place. hold until glue grabs.
